Our DIY Craft |
|
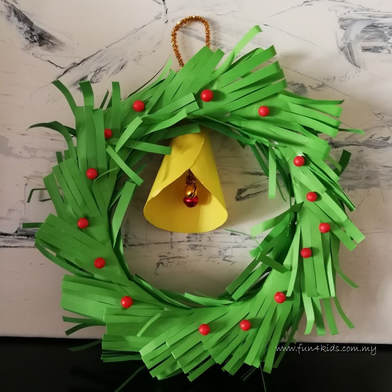
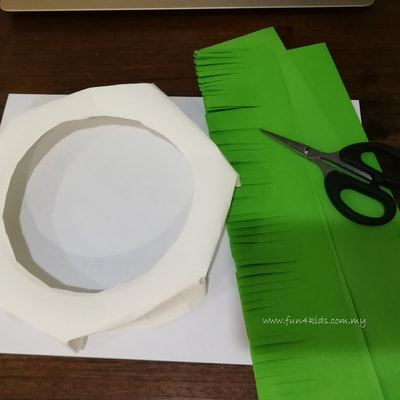
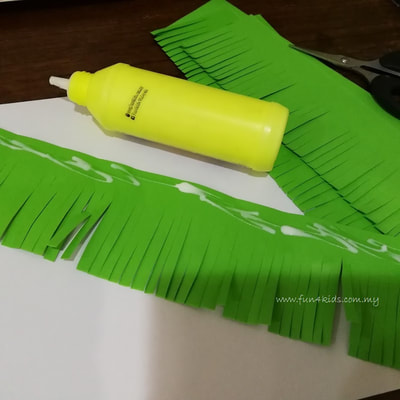
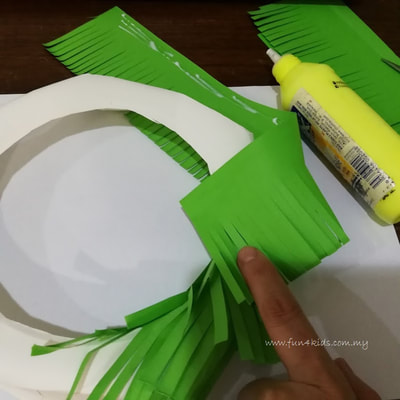
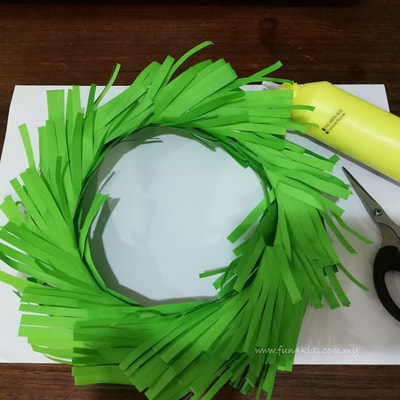
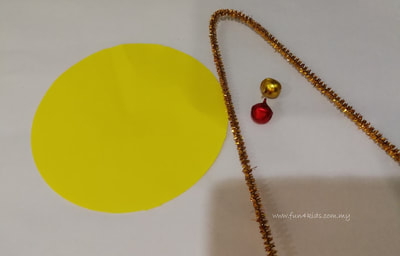
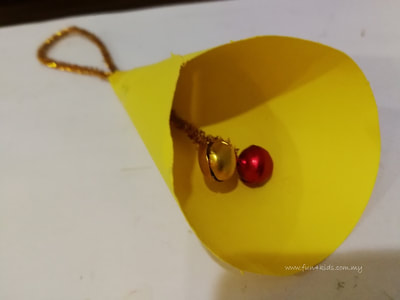
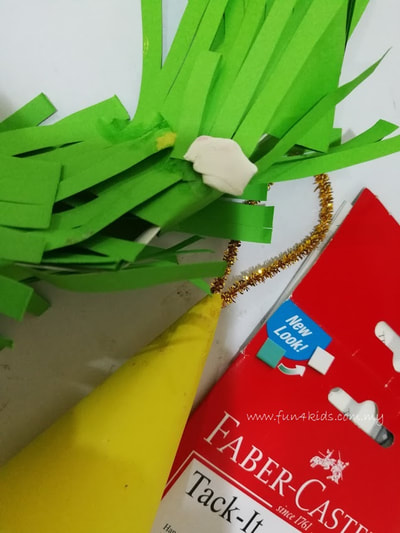
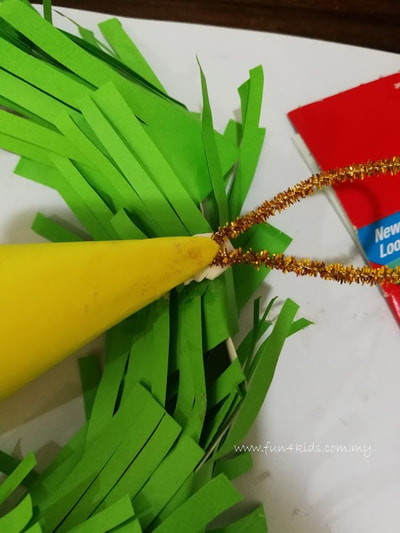
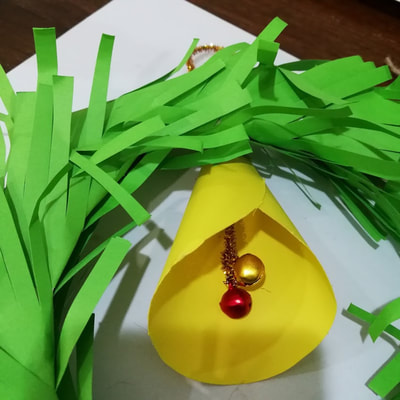
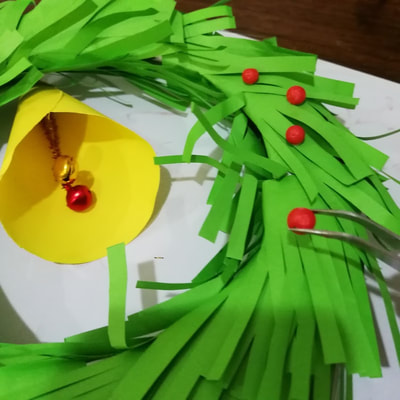
This DIY Christmas Paper Wreath takes a little patience and time to complete but once it's completed, it does look like a real one! Here are the instructions if you would like to try one at home. Instructions: 1. Cut off the internal round shape so you will get a shape of hollow circle. 2. Fold in the side of the circle plate to make a pop-up shape of a wreath base. 3. Place a few green paper strips together (to shorten cutting time), and cut vertical strips at about 0.5cm width, leaving about 2cm width at the top (for gluing). Refer to second image below. 4. Put glue on the top of the 2cm space and roll it on the paper plate to cover the plate. 5. Continue step 4 until the entire paper plate is being covered with green strips. 6. Set aside the wreath and move on to the yellow circle to make a bell cover. 7. Insert the bells into pipe cleaner, 1 on each side and bend the end of the pipe cleaner to prevent the bells from falling off. 8. Place the pipe cleaner with bells secured on the yellow round circle and wrap it with the yellow circle with glue. Refer to 6th image from left below. 9. To stick it on the wreath, turn the wreath around to the back, place a tack-it on the top of the wreath, then stick the bell on it. 10. Lastly, turn the wreath back to the front and decorate it with mini red polystyrene balls. Use tweezers for easy grasp. Stick using white glue. Materials Required: 1. 22-cm paper plate. 2. Green paper strip (1 A4 size green paper can be cut into 3 equal sized strips). You will need 2 A4 size green paper to complete the wreath. 3. Yellow circle (approximately 10.5cm diameter). 4. 2 bells. 5. 1 pipe cleaner. 6. Mini red polystyrene balls. 7. Tack-it. 8. Scissors. 9. White glue 10. Tweezers (optional) Happy trying! You can purchase the required materials above by contacting us here.
0 Comments
Leave a Reply. |
Archives
January 2018
Categories
All
Click to set c
ustom HTML
|
© 2024 All rights reserved - Fun For Kids Malaysia
your trusted partner in fun kids activities, DIY art & science kits supplies
Website powered by Weebly
your trusted partner in fun kids activities, DIY art & science kits supplies
Website powered by Weebly

 RSS Feed