Our DIY Craft |
|
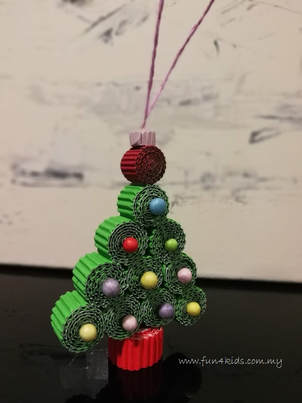
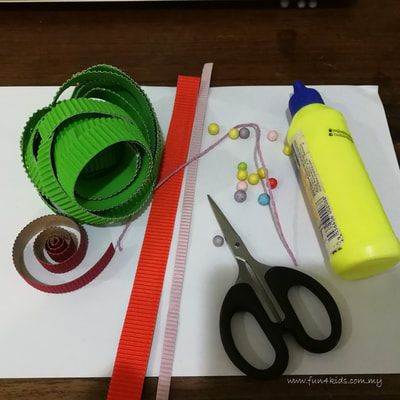
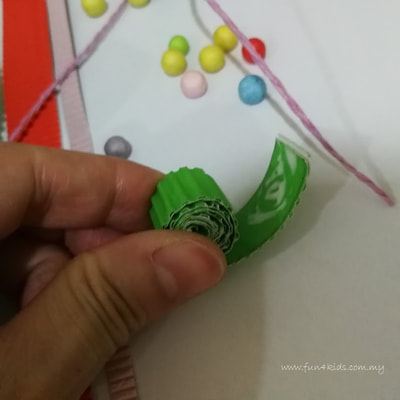
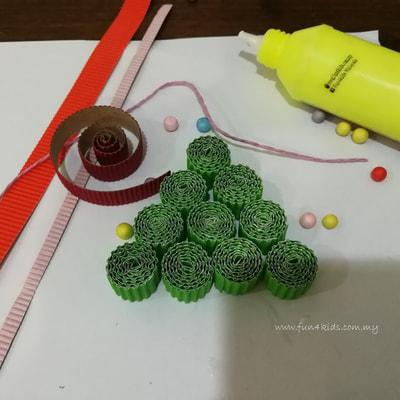
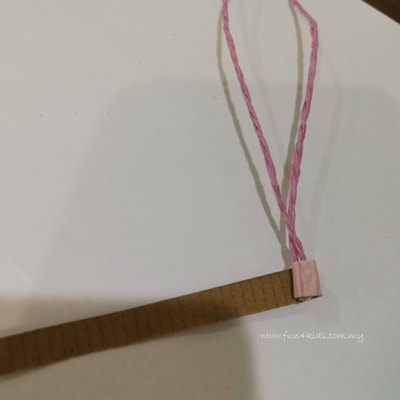
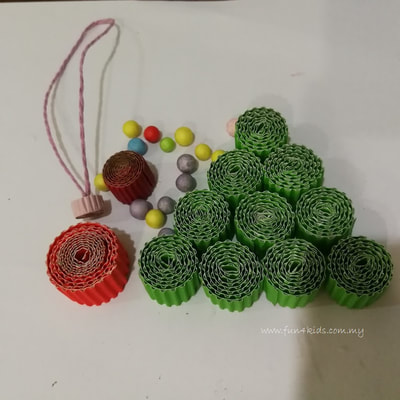
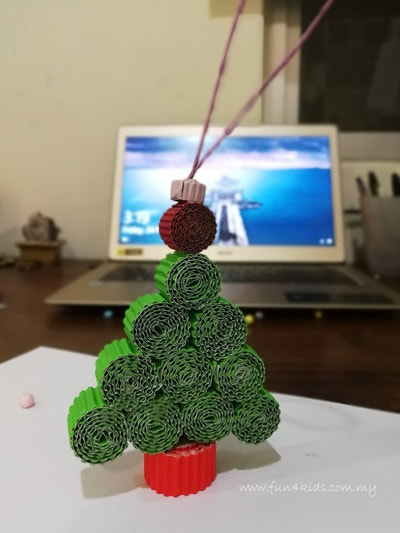
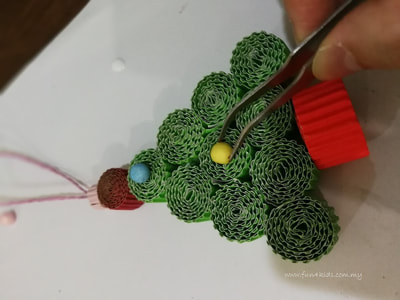
Christmas is approaching! It's happiest and also busiest time of the year : ) The art of quilling requires a lot of patience to complete. However we have simplified this piece of quill ornament to be simple yet colorful to be hung on your Christmas tree! Instructions: 1. Cut strips of corrugated cardboard (approx 1.5cm width x 30cm length) of multiple colors of your choice. 2. Roll each individual strips and start gluing when reaching the end of the strip. 3. Repeat step 2 for all the strips except for the top strip that needs to hold the string. 4. Each green strip makes one part of the Christmas tree, except for the bottom base which requires 2 strips to make a bigger circle in order to hold the tree in place (refer to orange base in the image below). 5. For the strip that needs to hold the string at the top, it's recommended that the size be (approx 0.5cm width x 30cm length) . Put the string on the strip, put some glue and start rolling till reaching the end of the strip, put more glue to secure the shape. 6. Once all quills are done, arrange them into the size of Christmas tree and start gluing all the circles together. Hold all circle tightly and let it dry to stay in the shape. 7. Lastly, decorate each circle with colorful polystyrene balls (stick individual ball with glue). Materials Required: 1. Corrugated cardboard strips (approx 1.5cm width x 30cm length). You will need 10 Green strips to make up the tree, 2 Orange (or any preferred colors) to make up the base bottom, 1 Red (or any preferred colors) for the top. 2. 1 Pink (or any preferred colors) corrugated cardboard strip (approx 0.5cm width x 30cm length) to hold the string on the top. 3. Colored paper string. 4. Mini colored polystyrene balls. 5. Scissors 6. White Glue (white glue is preferred over clear glue due to its bonding strength) 7. Tweezers (optional) Want to try this? Contact us to purchase the materials.
2 Comments
Leave a Reply. |
Archives
January 2018
Categories
All
Click to set c
ustom HTML
|
© 2024 All rights reserved - Fun For Kids Malaysia
your trusted partner in fun kids activities, DIY art & science kits supplies
Website powered by Weebly
your trusted partner in fun kids activities, DIY art & science kits supplies
Website powered by Weebly


 RSS Feed